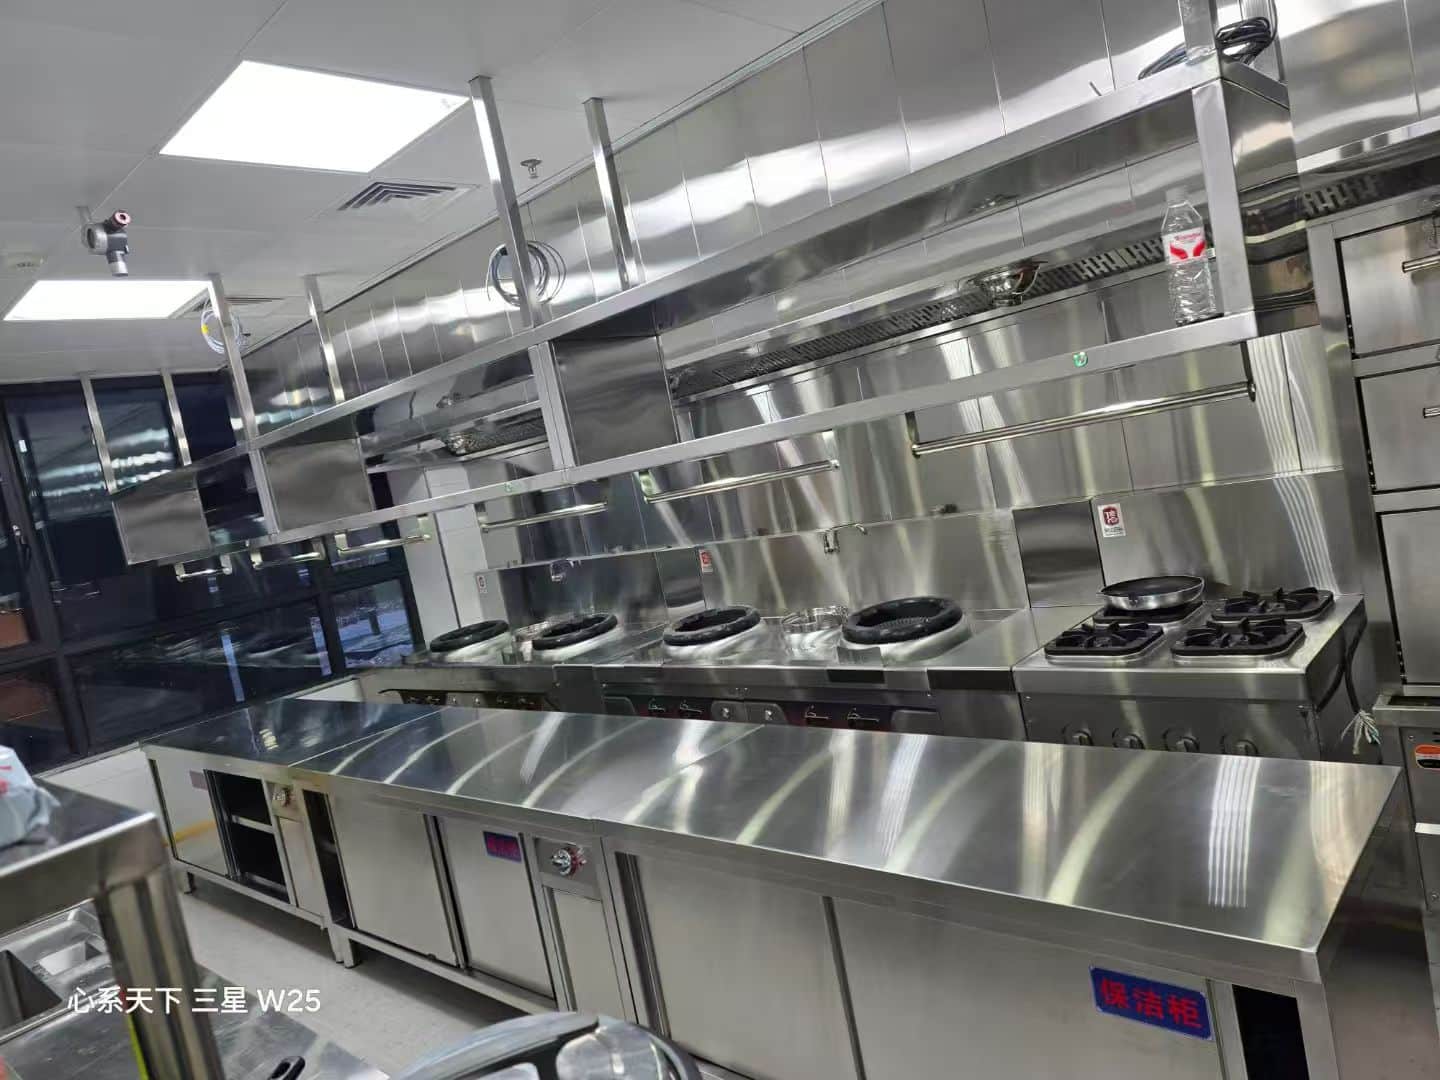
Why kitchen planning failures are expensive
Planning problems may emerge after opening: a crowded pass, poor hood capture or incompatible power. A hand sink 12 feet away requires assessment of access and the adopted code, not automatic rejection by distance alone. A 208V single-phase supply does not directly match a three-phase dishwasher; have an electrician confirm an approved supply.
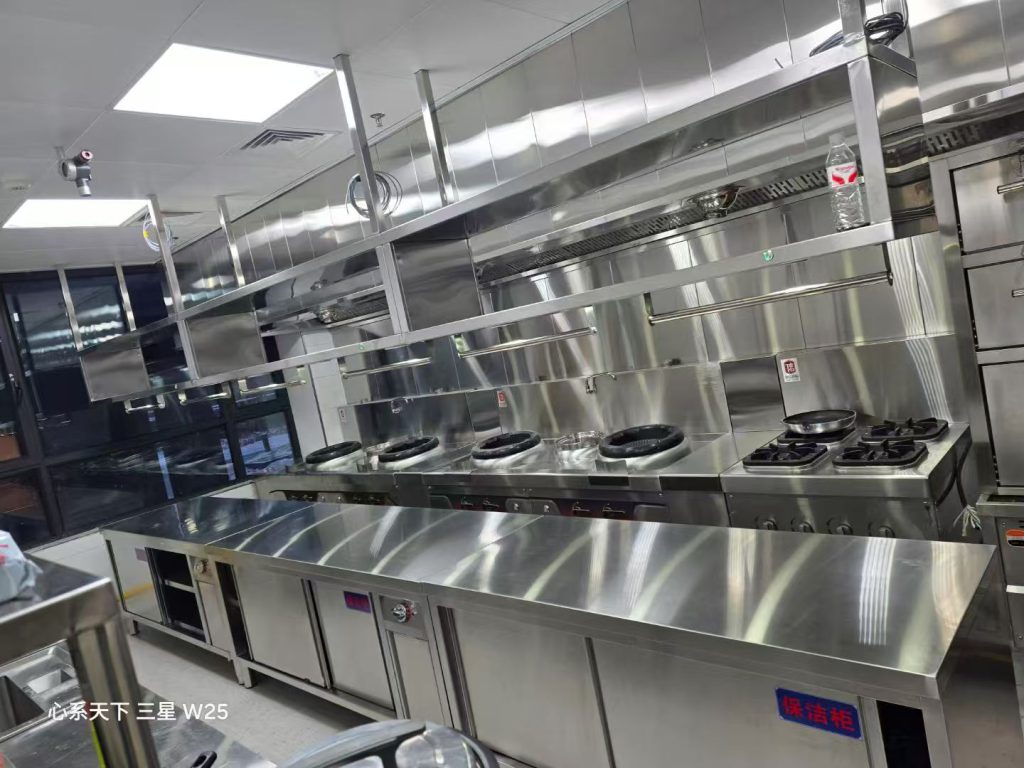
Installed kitchen: one-way flow from receiving to service.
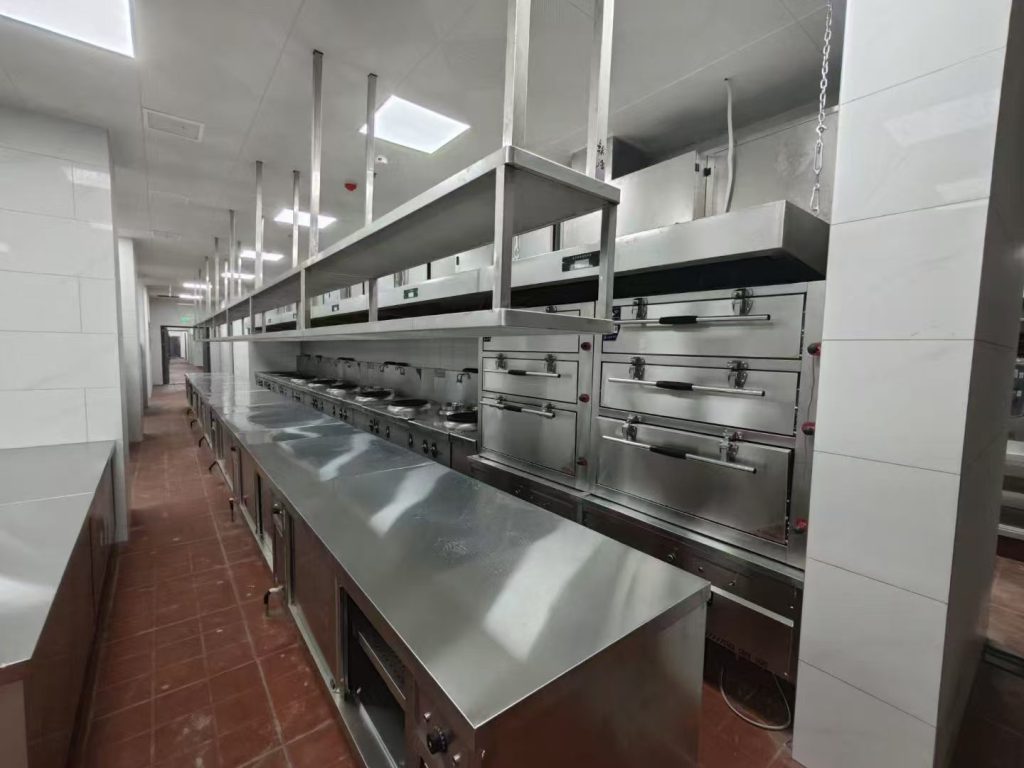
Zones allocated as percentages before any equipment is ordered.
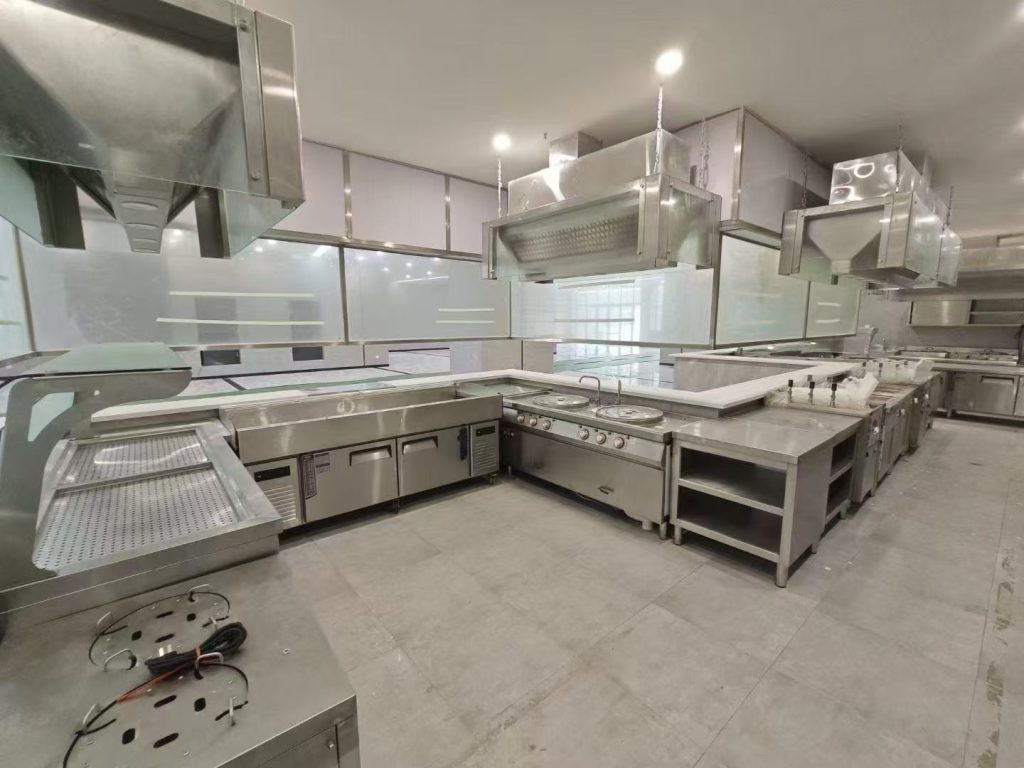
Working aisles and clearances set at the drawing stage.
Moving drains, modifying fire-rated construction and rerouting electrical feeders can add cost and disruption after installation. The original two-to-four-times cost comparison is unverified, not a universal estimate.
Begin with menu, peak meals and service model; allocate zones and aisles, then design ventilation and utilities and obtain required approvals. The numerical examples below are preliminary planning assumptions, not verified workshop project data.
Step 1: Start from meals served, not equipment
The most common planning mistake is starting with an equipment list. Equipment is a consequence of menu, volume and service model, not the starting point.
Build the estimate in this order:
- Example: 120 seats with two full turns in 90 minutes gives 240 meals, approximately 160 meals per hour. Validate occupancy, timing and menu production before sizing.
- Menu complexity. A pizza and salad operation can put out far more covers per square foot than a menu with 30 cooked-to-order items. Each additional cooking method adds a station, and each station needs its own floor area, hood coverage and utility connection.
- Service model. Table service, counter service, delivery-only and buffet each produce a different flow density. Delivery-heavy operations need a packing and staging area that table-service kitchens do not.
The original 30–40 percent kitchen-area range is an unverified planning example. Below 30 percent is not automatically too small, and above 40 percent is not automatically wasted rent. Validate workflow, storage, staff, access and the service model.
Practical benchmark ranges:
- Café or small counter-service: 300–500 sq ft (28–46 m²) of kitchen
- Mid-size restaurant, 80–120 covers: 800–1,400 sq ft (74–130 m²)
- Full-service restaurant with a full menu: 1,500–2,500 sq ft (139–232 m²)
- Commissary or central production kitchen: sized by output, not by covers
Step 2: Allocate zones as percentages, then draw them
The zone percentages below are illustrative, not documented project benchmarks. Draw actual stations and circulation, avoid double-counting shared areas, and reconcile the complete allocation to the total available floor area.
| Zone | Share of kitchen area | What it must contain |
|---|---|---|
| Receiving & dry/chill storage | 15–20% | Delivery door with a clear path to storage, walk-in or reach-in bank, dry shelving off the floor, chemical storage separated from food |
| Prep | 20–25% | Work tables, sinks for produce and thawing, cold prep surface, cutting boards, waste route |
| Cooking | 25–30% | Ranges, ovens, griddle, fryer, holding, pass shelf, hood coverage over all of it |
| Warewash | 10–15% | Dish machine or three-compartment sink, soiled landing, clean landing, chemical storage |
| Service / pass | 15–20% | Expediting surface, heat lamps or holding, server pickup without crossing the cook line |
Keep food preparation separate from soiled-ware handling and prevent wastewater contamination. Dedicated fixtures and approved drainage arrangements follow the adopted code; a shared downstream sanitary drain is not universally forbidden.
Step 3: Enforce one-way flow
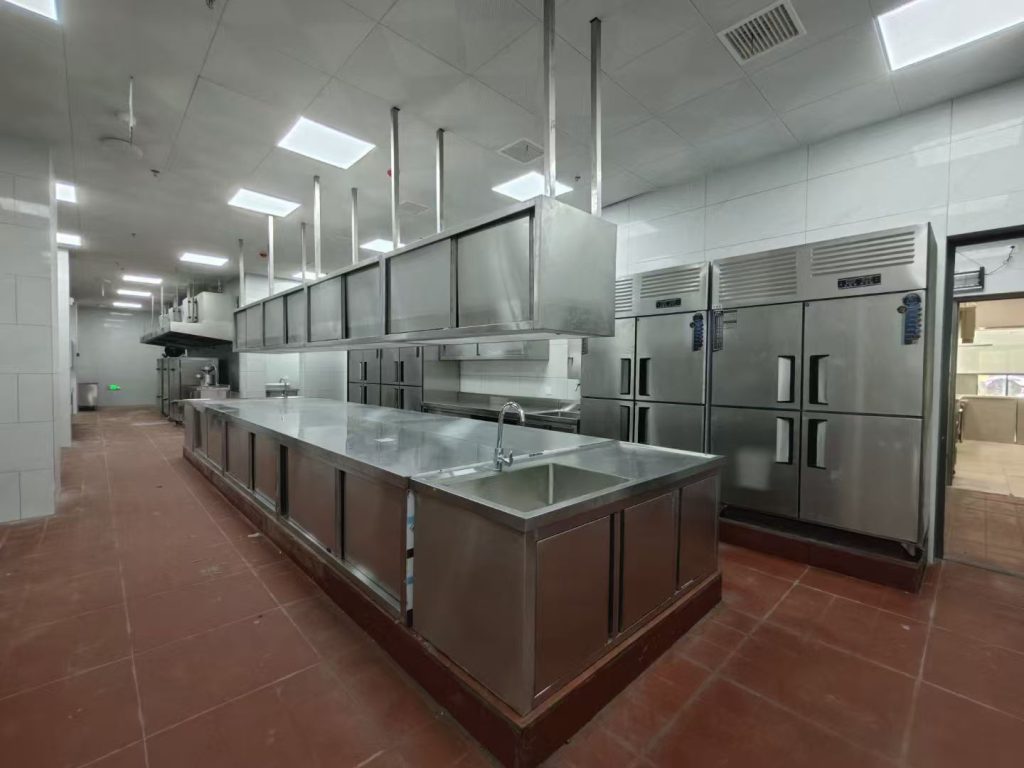 Flow direction decided by walls and equipment, not by habit.
Prevent cross-contamination under applicable local rules and EU Regulation 852/2004 where relevant. Trace raw-food, ready-to-eat and dirty-ware routes; manage crossings with effective separation and approved controls rather than assuming every line intersection is prohibited.
Workable flow:
Receiving → dry/chill storage → prep (raw side) → cook → pass → service, with a separate return path for soiled ware into warewash, and finished clean ware returning to storage or the line without passing through the raw prep area.
Where space is limited, propose dedicated equipment, time separation and documented cleaning and sanitising controls. Validate these controls and obtain any required local acceptance; colour coding alone does not make a layout compliant.
Step 4: Get the clearances right — this is where inspections fail
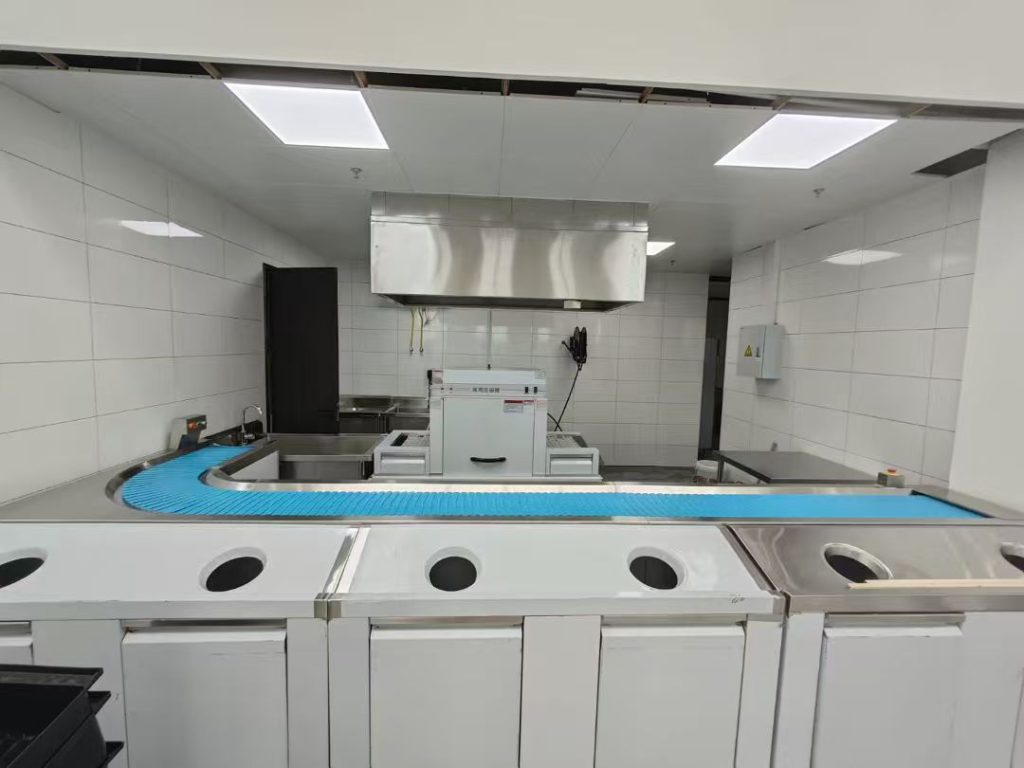 Clearances checked on site before the health inspection.
Check working aisles, equipment operation, cleaning, service access, accessibility and egress. The following widths are illustrative planning examples, not universal legal minima; millimetre values are rounded approximations.
Working aisles
- 36 inches (900 mm) — minimum aisle between equipment where one person works and no traffic passes behind them.
- 42 inches (1070 mm) — where two staff pass, or where a trolley or rack must move.
- 48 inches (1200 mm) — in front of a dishwasher or where doors, drawers and oven doors all open into the same aisle.
- Include the full operating space when measuring equipment. An oven door might extend 24 inches into the aisle; a refrigerator door may open through 135°. These are examples: check the actual model’s door swing and service clearances.
Cleanability clearance (NSF/ANSI 2)
NSF/ANSI 2 concerns food-equipment sanitation. Installation clearances and sealing must also follow the locally adopted code, equipment listing and manufacturer’s instructions; a standard number alone does not set every installation rule.
- For floor-mounted equipment, check the adopted code and listed installation instructions for sealing, mobility or leg clearance. Six-inch (about 150 mm) clearance is a common US reference, with code-specific exceptions; it is not a universal requirement for every unit.
- Counter-mounted equipment may require sealing or sufficient leg clearance for cleaning; 4 inches (about 100 mm) is a common US reference with exceptions tied to equipment dimensions and accessibility. Confirm the exact adopted rule and listing instructions.
- Provide enough separation for effective cleaning or an approved sealed installation, following the equipment listing and adopted code. A single 4-inch spacing rule does not govern every wall, equipment pair or service access.
- Food-contact materials must suit the product and cleaning exposure and be durable, corrosion-resistant and cleanable. Stainless grade 304 is a common choice, not a universal legal requirement for every food-contact component.
Design the equipment layout so it can be cleaned, or the inspector will require you to move it — and moving equipment after utility connections are made is a plumber and electrician, not a cleaner.
Step 5: Size the hood — do the arithmetic before you order it
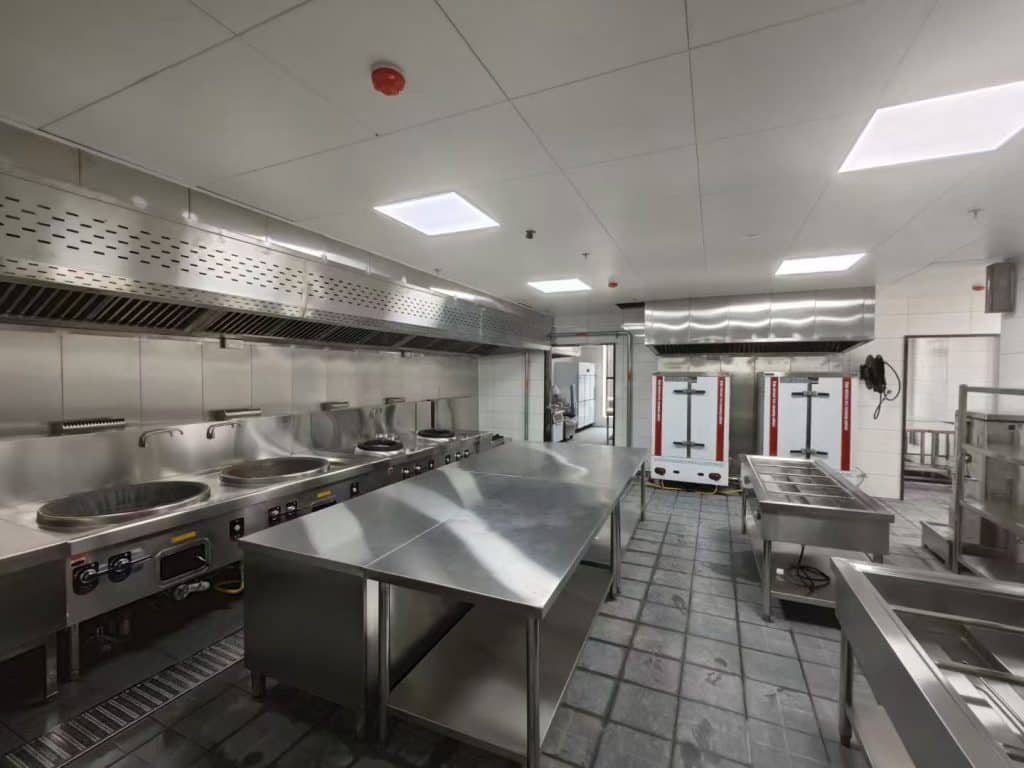 Hood length and overhang fixed before the cooking line is ordered.
Inadequate hood capture can leave heat, smoke and grease in the room. Confirm cooking duty, the listed system and applicable fire/mechanical requirements, including NFPA 96 where adopted; size alone does not establish compliance.
Hood length and overhang
Start with the cooking line footprint, then extend the hood:
- A 6-inch (about 150 mm) overhang is an example found in some canopy-hood rules, not a requirement for every listed system. Confirm front and side overhang, mounting height and capture from the approved hood/appliance design.
- Confirm the hood mounting height and overhang from the listed hood/appliance instructions and approved design. A mounting height of 78–84 inches above the floor does not imply a 24–30-inch clearance above a typical 36-inch cooking surface; check both reference elevations explicitly.
Exhaust volume
The following original airflow figures are illustrative assumptions, not approved design rates. Required exhaust depends on cooking duty, hood type and listing, capture performance, installation and the adopted mechanical/fire code. Have a qualified designer calculate actual exhaust and make-up airflow.
- Wall canopy: approximately 200 CFM per linear foot of hood length
- Single island canopy (four open sides): approximately 250 CFM per linear foot
- Double island (back-to-back): approximately 200 CFM per linear foot
Illustrative arithmetic: if an 8-foot cooking line needs 6 inches of hood overhang at each end, the hood length is 9 feet. At the illustrative assumption of 200 CFM per foot, the calculation is 9 × 200 = 1,800 CFM. This is not a design recommendation: use the listed hood requirements and an approved engineering calculation.
Make-up air
Balance exhaust, replacement air, transfer air and building pressure in the approved ventilation design. The original 80–90 percent figure is a preliminary assumption, not a universal make-up-air requirement. Include combustion safety, capture and comfort.
Grease duct and cleaning frequency
Have the designer specify grease-duct size, velocity, construction, access and fire protection from the adopted code and approved system. Do not apply a generic 500–1,500 feet-per-minute band as a design limit.
- Monthly — high-volume solid-fuel cooking (charcoal, wood, mesquite) — verify the adopted standard and cooking classification. These are inspection reference intervals; cleaning is required when inspection finds grease accumulation and may be more frequent.
- Quarterly — high-volume cooking operations — verify the adopted standard and cooking classification. These are inspection reference intervals; cleaning is required when inspection finds grease accumulation and may be more frequent.
- Semi-annually — moderate-volume cooking — verify the adopted standard and cooking classification. These are inspection reference intervals; cleaning is required when inspection finds grease accumulation and may be more frequent.
- Annually — low-volume cooking — verify the adopted standard and cooking classification. These are inspection reference intervals; cleaning is required when inspection finds grease accumulation and may be more frequent.
Hood grease filters may need daily cleaning in heavy-grease operations. Set the actual interval using the manufacturer’s instructions, grease loading and applicable requirements; include this recurring labour in the operating budget.
Step 6: Lock down electrical and plumbing before you order equipment
Utility capability is the constraint that most often forces a buyer to change equipment rather than the other way round. Check it first.
Electrical
Commercial equipment in the US typically comes in these configurations, and they are not interchangeable:
| Configuration | Typical equipment |
|---|---|
| 120 V single-phase | Small countertop items, scales, slicers, reach-in glass-door display |
| 208–240 V single-phase | Ranges, ovens, griddles, fryers, larger refrigerators |
| 208–240 V three-phase | Large reach-ins, blast chillers, conveyor dish machines, big mixers |
| 480 V three-phase | High-output electric cooking and large facility loads: confirm the actual available service and model ratings. A dedicated transformer is not required merely because the equipment uses this voltage. |
Send each model’s voltage, phase, current, frequency, plug and connection method to a qualified electrician. Circuit allocation, disconnects and GFCI protection depend on the adopted electrical code, kitchen location and equipment; distance from a sink alone is not the complete rule.
Plumbing
- A plumbing designer must confirm indirect waste, the permitted receptor and air gap. One inch or twice the effective opening describes an example minimum in some rules, not the opening itself. Apply the actual fixture and adopted code; do not make unapproved direct connections.
- Design wet-zone floor slopes and drain locations to approved drawings so water does not pool or cross clean work and traffic areas unnecessarily. Keep grates and transitions safe and cleanable.
- Grease interception. Grease interceptors or traps are sized by fixture load — the number and type of fixtures discharging into them, not by kitchen size. Undersizing produces the classic slow-drain-then-overflow pattern.
- Hot water capacity. Size the water heater from the recovery rate required by the dish machine and handwash sinks at peak, not from tank volume alone.
- Gas: a qualified designer sizes supply from rated heat input in BTU/h or kW, pressure, pipe length, permitted diversity and local rules. Confirm shut-offs, sediment traps where required, approved connectors and restraints for movable equipment; do not select fittings by a generic checklist alone.
Step 7: Check the layout against the health code checklist
Before equipment is fabricated, run the plan against this list. These are the recurring requirements in most US state food codes and their equivalents elsewhere; confirm the specifics with your local health department.
- Provide accessible dedicated handwashing facilities with the water, soap and drying provisions required by the adopted code. The original 20-foot distance is an example of potentially inconvenient access, not a universal rejection threshold.
- Confirm the approved warewashing arrangement. Where manual washing requires a three-compartment sink, size for the largest item; a dish machine must meet sanitising requirements and does not automatically remove every sink requirement.
- Specify durable, smooth, appropriately nonabsorbent and cleanable surfaces. In wet areas, confirm approved coved wall-floor transitions that prevent retained dirt and food residues; a cove is a rounded transition, not a grooved or convex base.
- US lighting examples: 50 foot-candles at relevant food-preparation work and 10–20 foot-candles in other specified areas. Confirm the adopted task-specific levels and measurement location; these are illuminance units, not numbers of candles or a universal dining-room rule. Protect exposed food from broken lamps as required.
- US model Food Code examples for applicable food: cold holding at 41°F (5°C) or below and hot holding at 135°F (57°C) or above, subject to adopted provisions and exceptions. Provide the model’s condenser airflow and service clearances; 2–6 inches is an example, not a universal minimum.
- Employee facilities — a designated area for staff belongings, and a handwash sink separate from the food prep sink.
- Pest control — no gaps at the base of walls, sealed penetrations, air curtains or self-closing doors at exterior openings.
Step 8: Sequence the build so nothing gets redone
A build-out that runs in the wrong order guarantees rework. The order that avoids it:
- Concept and menu — determine stations and cooking methods.
- Cover and volume estimate — fixes the kitchen area.
- Layout and zone allocation — determine equipment positions.
- Hood sizing and utility load schedule — determine exhaust CFM, electrical supply, gas load and drainage requirements.
- Health department plan review, where your jurisdiction requires it. Submitting the plan before fabrication is dramatically cheaper than submitting it after installation.
- Compare custom fabrication with standard equipment for the actual plan. Include dimensions, food-contact requirements, utilities, delivered cost and service; factory-direct ordering has no guaranteed largest saving.
- Rough-in of electrical, plumbing, gas and grease duct, inspected before closing walls.
- Equipment installation and commissioning, then a pre-opening inspection.
Do not omit ventilation and utility design before ordering. Early coordination can reduce rework; no fixed ranking of the most expensive omitted step is established.
Where a fabricator can remove cost from this list
Two lines on a kitchen plan are usually the biggest opportunity for custom fabrication rather than catalogue purchase:
- Anything that has to fit a wall. Pass shelves, wall cladding, corner work tables, undershelves, drainboard runs and splashbacks are all sized to the room. Buying a standard size and then building around it wastes floor area permanently.
- Sinks and prep units. Bowl count, bowl depth, drainboard length and leg height can all be specified, which lets one unit do the work of two catalogue items.
For the exact model and destination, request the applicable EU Declaration of Conformity and supporting documents. CE marking is the manufacturer’s conformity declaration under applicable legislation, not a general third-party safety approval. For an NSF-listed item supplied through a partner factory, verify the model, listing holder and producing facility before ordering. Confirm the MOQ, sample schedule, production schedule and any DDP scope in the current written quotation.
If you have a floor plan and a utility load schedule, send them to us and we will tell you which parts of it we can fabricate to fit, and which parts you should buy as standard.
Related reading
- A sized equipment list for your business type, once the floor plan is fixed
- Specifying custom fabrication and comparing landed cost between suppliers
- The complete commercial kitchen equipment buying guide
- Work table construction: gauge, frame and bracing
- Stainless steel thickness guide for commercial kitchens
- MOQ and lead time for custom stainless fabrication
Scope and verification
Amounts, percentages, lifespans, dimensions and schedule examples retained from the original article are planning references, not current quotations, guaranteed savings, engineering limits or universal requirements. Confirm the actual configuration, date, currency, taxes, service scope and applicable local rules.
Regulatory examples refer to their named market. Check the currently adopted local code and acceptance with the authority and qualified designer. Translation does not make US, EU or other requirements universal. The FDA Food Code is a model for local adoption, not a single worldwide law.
Supplier descriptions and historic examples should be verified for the exact order. Request a dated specification, component materials and thickness, applicable model documents, inspection criteria, warranty, production timing and itemized delivery quotation before committing.
Send the product or drawing, quantity, destination and required date. Ask us to confirm the configuration, applicable documentation and itemized delivery scope.